Python is nowadays an essential programming language. Due to its simple syntax and its wide library collection, it is easy to use and learn for the beginner. But is also ideal for prototyping and visualisation. These are actually my main usage of python. For speed-critical programs, I would recommend other languages though, such as C++ (10 – 100 times faster than native Python code), but that’s another topic which is not the goal of this post.
In this post, I will show how easy it is to make a video using the OpenCV (CV2) python package, based on a series of images (or frames).
Before starting, you need to install the CV2 package. In Unix-based systems, it is likely that you will use pip3 or conda. In MacOS, you may also use brew.
Let’s straight start with the core function that converts images to a movie. I will then explain it part-by-part,
import cv2
import glob
def jpg2movie(dir_img, fps, file_out='output.avi', extension='jpg'):
    '''
        Make a movie from a sequence of jpg images. Images must be ordered by index so that
        the program can guess their order. The best is to use unambiguous filenames:
        000.jpg, 001.jpg, ..., 999.jpg
        dir_jpg: directory that contains the image files.
        fps: cadence of the frame
        file_out (optional): name of the output file for the AVI. If not provided, it will be 'output.avi'
        extension (optional): extension of the image files that we look for within the dir_img directory
    '''
    img_array = []
    files=sorted(glob.glob(dir_img+'/*.'+extension))
    if files ==[]:
        print('Error: No file found that match the provided extension in the requested directory')
        print('       File Extension: ', extension)
        print('       Searched Directory: ', dir_img)
        exit()
    for filename in files:
        img = cv2.imread(filename)
        height, width, layers = img.shape
        img_array.append(img)
    size = (width,height)
    #
    out = cv2.VideoWriter(file_out,cv2.VideoWriter_fourcc(*'DIVX'), fps, size)
    for i in range(len(img_array)):
        out.write(img_array[i])
    out.release()
First, you have the usual import command and the function declaration part, with some comments on the role of each parameters. We use the cv2 package but also the glob package here. Then starts the main code of this example.
The code requires two mandatory parameters and two optional ones. The mandatory ones are:
dir_img: specifies where are located the image files that you wish to use as frames of your video
fps: specifies the number of frame/images to be shown per second. It will directly control the duration of your final video. If you have only a few image files, you might need to set this to a low value (eg. fps=2 images per second). But typical cameras will record at a rate of fps=24 images / second (or even faster to get a smooth animation). That value will therefore depends a lot on your use-case. Personally, I use movies for data visualisation (and debugging) and I need slow motion to get time to understand the images.
The optional ones control the name of the output file (file_out), set by default to output.avi and the extension of the image files present in the dir_img directory. By default it assumes JPEG images (jpg extension), but you may need to change that for your usage.
The first part of the code use glob in order to retrieve the list of files within the dir_img directory that match the extension argument, after having declared an empty list img_array that will contain all of our images later. You will also note that I impose the files to be sorted, so that they are framed in a predictive manner. If you do not do so, you will likely end-up with a completely incoherent video. A corollary is that you have to be careful in the way you prepare your frames: These should be named using a pattern that is predictive. It is assumed here some kind of numeral or alphabetical sorted order (eg. myimage_000.jpg, myimage_001.jpg, …),
img_array = []
files=sorted(glob.glob(dir_img+'/*.'+extension))
Then we have a section that allows to exit the program with an error/debug message if the image files were somewhat not found,
if files ==[]:
    print('Error: No file found that match the provided extension in the requested directory')
    print('       File Extension: ', extension)
    print('       Searched Directory: ', dir_img)
    exit()
If we did not exit with an error, the program reads all of the image file one-by-one and store them into the img_array. This is done using the cv2.imread() function,
for filename in files:
    img = cv2.imread(filename)
    height, width, layers = img.shape
    img_array.append(img)
The line size = (width,height) specifies the size of the output image. As you guess here, it is supposed to be a constant, so make sure that all your image files have the same size. Otherwise, you may end-up with some surprises.
The instruction that follows declares the video container. The codec here is set to ‘DIVX’, which should work on any OS, but others may be used if you have specific purpose in mind (but it may require some codec installation, such as for most web videos – in h264 -),
out = cv2.VideoWriter(file_out,cv2.VideoWriter_fourcc(*'DIVX'), fps, size)Finally, we sequentially write the images into the container using the inherited function out.write():
for i in range(len(img_array)):
    out.write(img_array[i])
And the file should not be forgotten to be closed, using out.release()
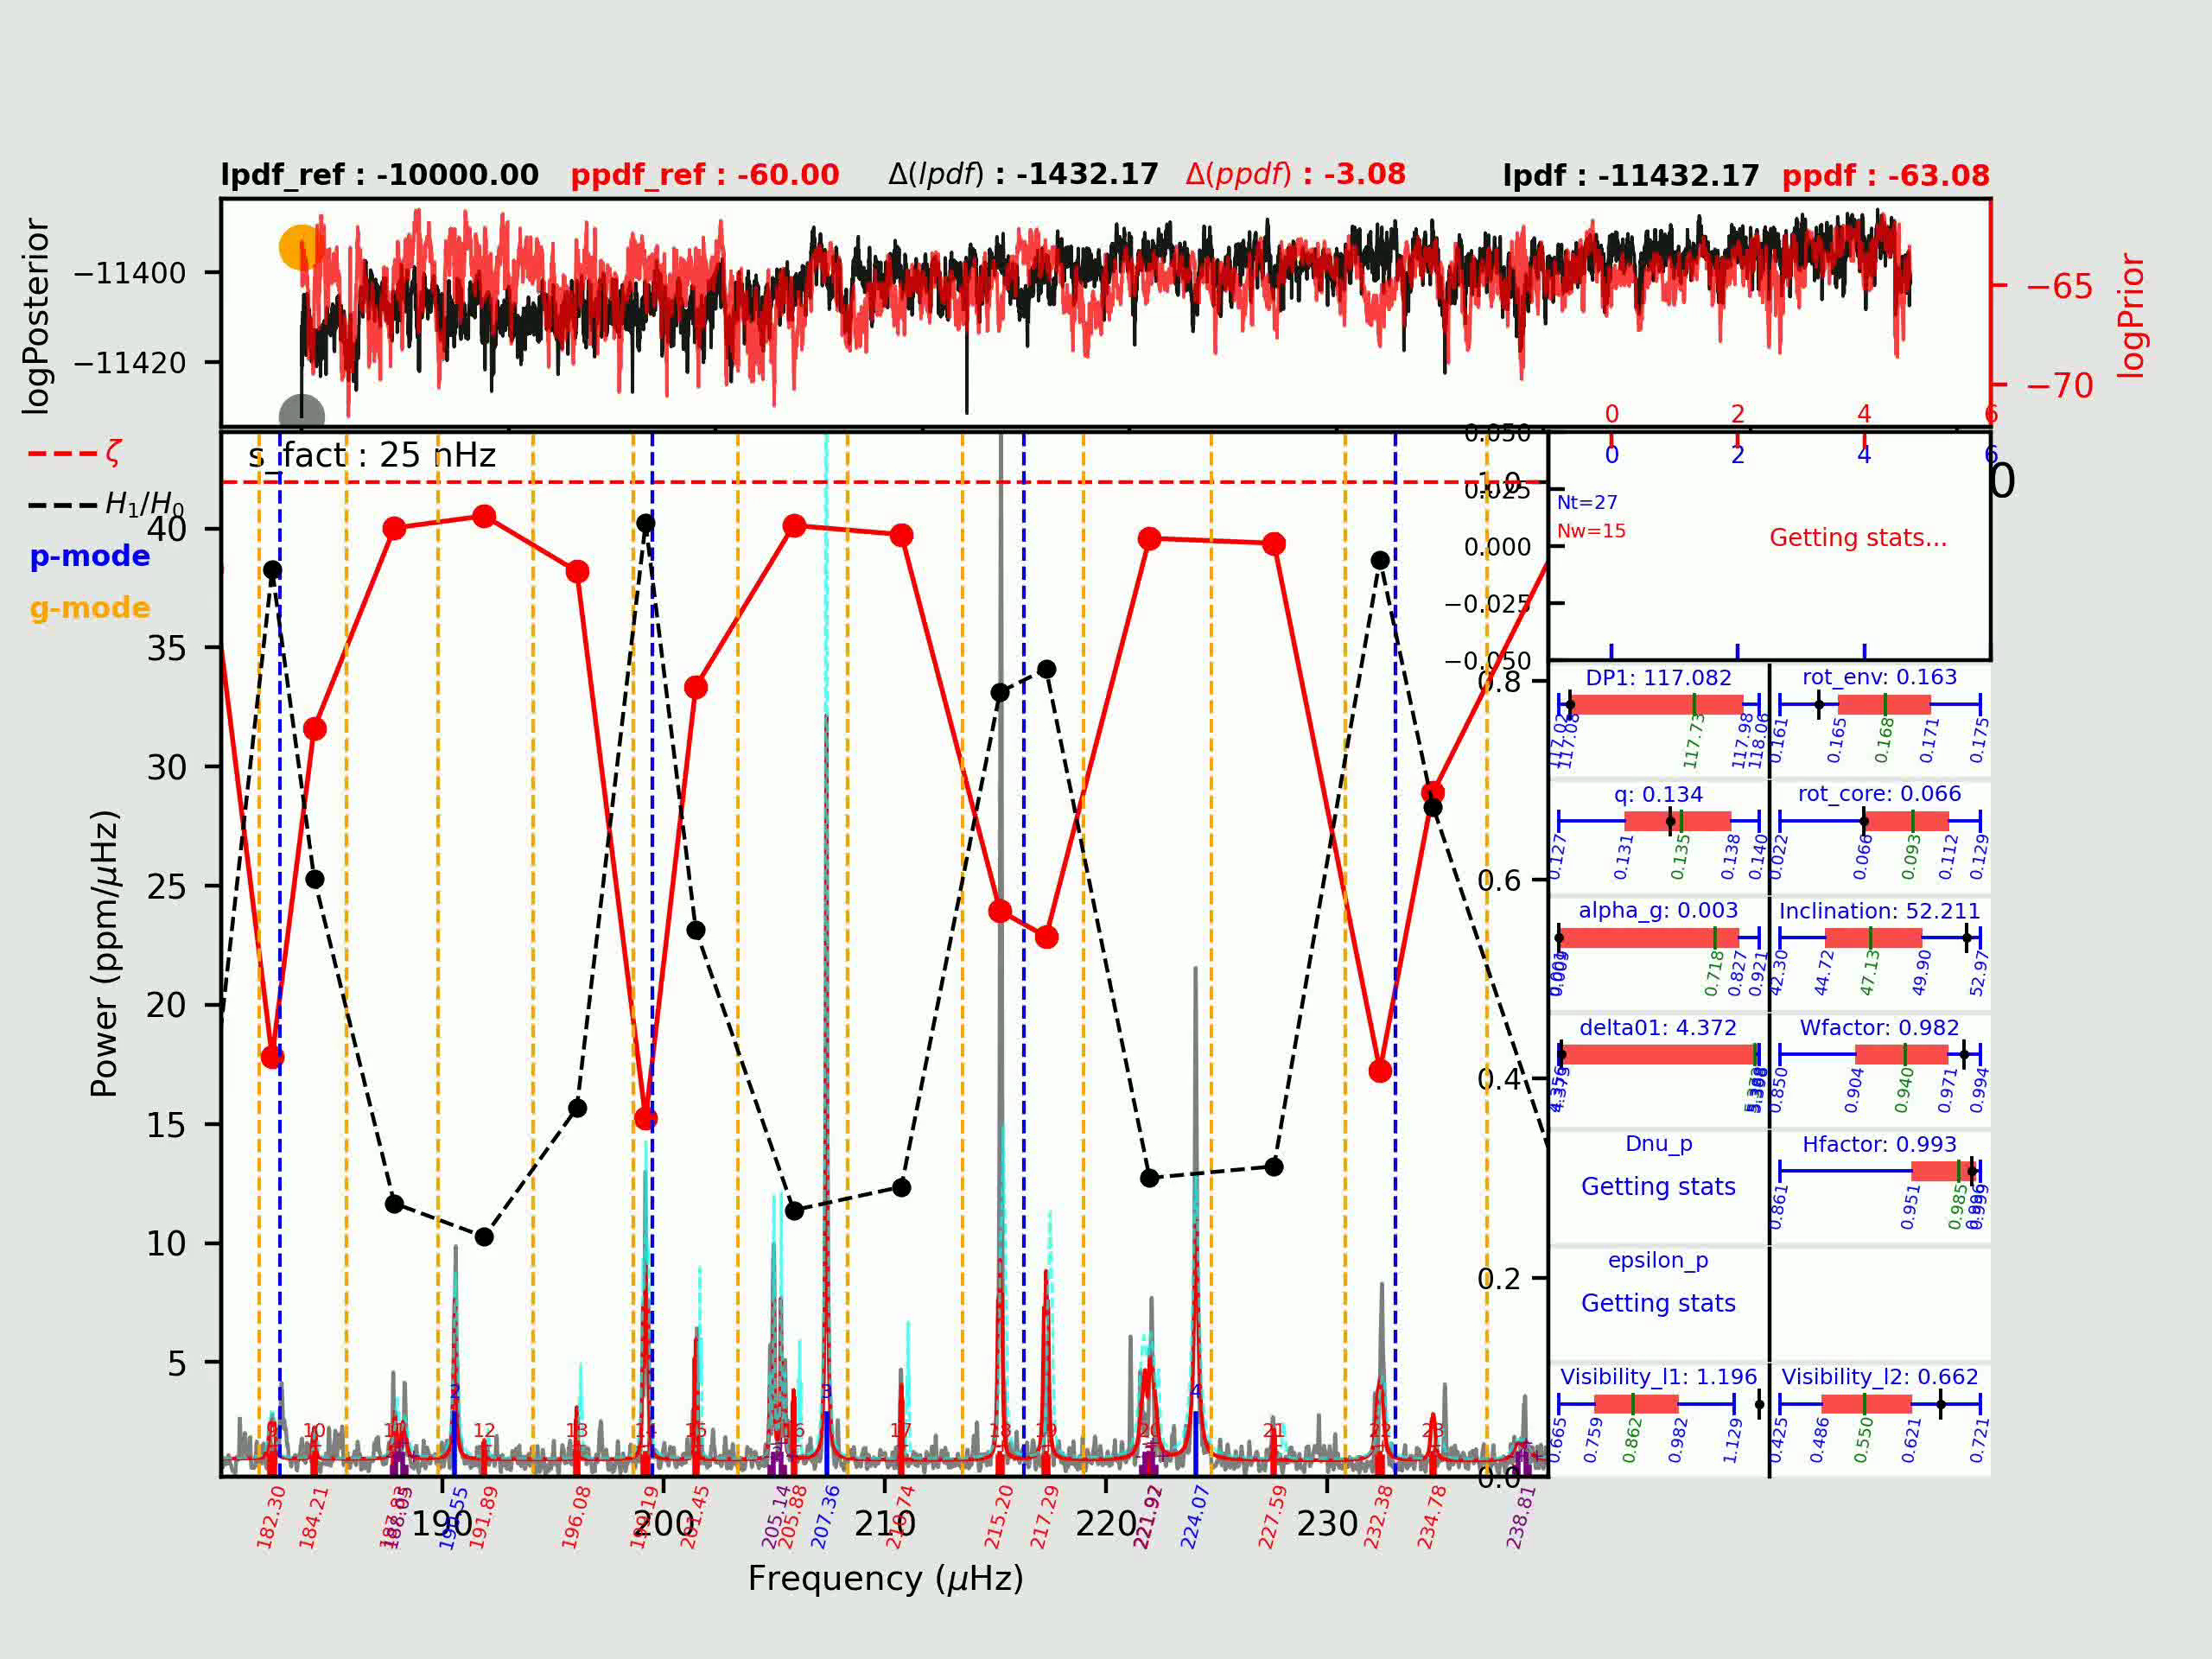
That’s it, you should end-up with a video, like this one:
This video uses results from my MCMC sampling code (in C++, https://github.com/OthmanB/TAMCMC-C) to replay the MCMC run in the form of a video with the Replay_MCMC program (in Python, but calling C++ routines: https://github.com/OthmanB/Replay_MCMC). This gives a diagnostic for the MCMC process (here, for a Red Giant star)
